As long time readers of Sanders Technology are no doubt are aware, I rarely install operating systems on bare metal (non-virtual) systems. Partly this is a practical measure, there are a lot of releases if you take into account pre-release and beta versions, and partly an issue of convenience. Therefore, it is something special when I install to bare metal, I put on some vinyl and get to work..

For this version of Windows, I had purchased a new laptop the previous month and it had been sitting somewhat idle with the news of the imminent release of Windows 10. So I waited, and once the RTM build hit MSDN, I began the process of installing onto the Dell XPS 15. Here’s a pictorial of the installation process and some handy installation tips.
Beginning
I booted the system via USB, and squinted at the tiny, tiny font. Evidentially Microsoft haven’t fixed the screen scaling on 4K monitors. Luckily for me, I have exceptional vision for tiny fonts, and was able to move on to the main installation. I blew away the primary disk, and formatted for install. I opted for a clean install over an upgrade because that’s become my default modus operandi of the past decade or so.


The new boot sequence makes use of the manufacturer logo during the boot process, just in case you forgot you were sitting in front of a Dell. After the initial boot loading of the setup files, we’re treated to a new progress clock screen which ticks up to 100% complete. On this brand new laptop, it did not take long.


Once the initial image is ready, we’re into familiar territory, being asked “Express” or “customize”. No brainer, always go the customize route, which allows you to toggle off some of the more invasive data sharing “features”. You’ll need to do a lot more later on, once the OS is up and running proper.

Finally, you’ll be prompted to create an initial account. As I was domain-joining my machine, it asked me to create a local account, which is easy enough. Once the setup had finalized, I authenticated with the local account and then changed the computer name and joined it to my domain. Then I rebooted and prepared to authenticate as a Domain Admin to complete my personalized settings.
Logging in

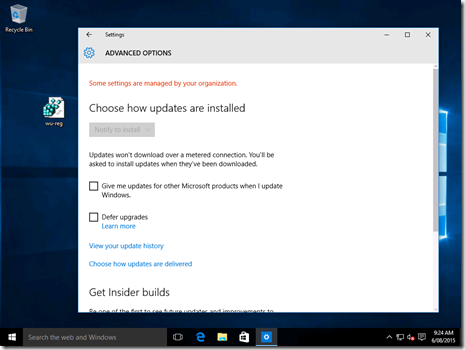
This edition of Windows 10 is exceptionally striking, visually. The UX design is impressive and looks far superior than the predecessor, Windows 8/8.1. Once you’re authenticated, Windows will attempt to contact Windows Updates to finish off the remainder of the installation – my recommendation: allow this to happen. For why, see below.
Troubleshooting
Nearly every bare metal install I’ve completed in the past required me to locate OS-specific drivers to complete the installation. In cases where the manufacturer has not published newer drivers, I’ve been able to get away with using the previous edition’s drivers – provided the CPU architecture matches (e.g. 64 bit drivers for 64 bit OSes).
The first time I installed Windows 10, I did not join the laptop to my WiFi (mistake #1). The Dell website did not list any new drivers for Windows 10 despite assurances the laptop had been tested and was compatible with the new OS. Curious. So I did what I’ve always done – installed the previous versions (mistake #2).
The drivers installed fine, and all the unidentified devices were installed. Then I rebooted the system. That’s when the black screen of death occurred:

Windows 10 boots, and leaves you stuck on a black screen with a mouse cursor constantly in the “spinning circle” mode. It turns out that the previous Windows 8.1 NVidia driver was the cause of this OS-limbo, and there wasn’t anything I could do about it. I tried to get into Safe Mode, no dice.
In the end I had to reinstall the OS, but this time I connected to WiFi. Windows Update’s Driver Store, as it turns out, had valid and appropriate drivers (must have been supplied by Dell) so everything installed fine. There were a few odd devices not identified which I was able to install using the old drivers. It’s been fine since.
Therefore, if you encounter the black screen of death – I’d suggest attempting to get into some kind of protected mode (safe mode) and uninstall any custom drivers. Worst case scenario, you might be looking at an OS-reinstall.