Microsoft’s formerly code name “Project Volterra”, now known as the Windows Dev Kit 2023 has arrived.
It’s basically a NUC running a quite powerful ARM processor, some kick ass memory and a half TB built-in SSD.
Device specifics
- 32GB LPDDR4x RAM and 512GB fast NVMe storage
- Snapdragon® 8cx Gen 3 compute platform
- Ports: 3x USB-A, 2x USB-C, Mini-Display (HBR2 support), Ethernet (RJ45)
- Made with 20% recycled ocean plastic
- Available in the Microsoft Store
Learn more: https://learn.microsoft.com/en-us/windows/arm/dev-kit
I ordered one last week and it arrived today.
Unboxing
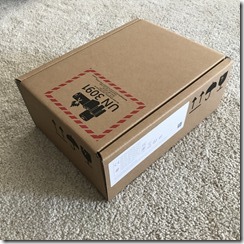
It arrived in a neat, simple box without much fanfare.
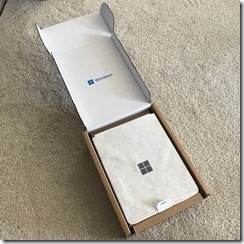
Unboxing was pretty straightforward, the Kit itself is securely snug within the packaging, and covered by a protective sleeve.
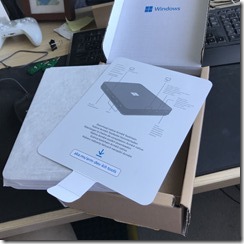
There’s a helpful get started card with a brief overview of the device’s ports.
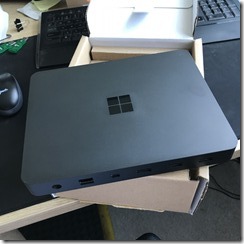
The kit itself is quite lightweight and has the smooth “brushed” plastic look, like WD TV devices of days long gone.
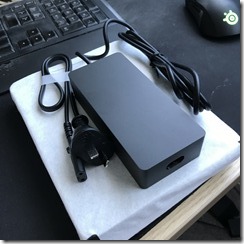
Included also was a sheet of standards in multiple languages plus the power supply and cord.
Installation and Running the Kit
Here’s where it gets interesting, note from the help link above:
“Use the mDP port as your main display for setting up this device. The UEFI output defaults to mDP port.
- If the display is connected to USB-C only, you won’t see the UEFI startup screen output when you turn on the device. It takes ~25 seconds for the display to light up after power button is pressed.
- If connecting an HDMI monitor to the mDP port, an active mini-DP to HDMI adapter is required.
- When connecting an external keyboard or mouse, use the USB-A ports, not USB-C. Using USB-C to connect a keyboard or mouse will only work intermittently.“
I have a range of display adapter cables (of course) but the part above in bold threw me – I only had a passive mini Display Port to HDMI adapter.
So when I connected everything and powered on the kit – no display output. If you are having this problem as I had, check that your mini display port cable is an active one if you are converting to HDMI.
In the end I went to a local shop and bought two cables:
– mini Display to Display port (DPort)
– USB-C to Display port (DPort)
When I set my desk and monitors up again this evening, I used these two adapters to connect to twin displays and it worked first time, no hassles.
Done
From that point onwards, it was the same as configuring any new Windows 11 PC. The OS was pre-installed (Windows 11 Pro) and it activated once connected to the Internet.
At this stage you can essentially do whatever you like with it, noting that it has a few easy to address hardware limitations if you intend it as a workstation
– no audio jack (but BlueTooth and display audio depending on your display output)
– only three USB-A ports, which is a nuisance if you use a wired keyboard and mouse, this leaves you just one free port which is a pain for extra pre-USB-C device, I used my third port for a Windows-Hello capable IR camera
– no built in camera (duh) or biometrics (also duh) so Windows relies heavily on Windows Hello PIN for quick login (or USB key fob, but remember those port limitations)
– All USB-A ports are at the back (none at the front)
Otherwise, honestly it’s a great tidy unit and has just enough of what you’ll likely require.
Conclusion
Early days of course, but an evening of installing software and configuring the OS puts me in a good position to do more with this thing.
My initial observations are that the kit is FAST. As a bare bones OS, I don’t think I’ve ever seen a Windows environment so quick and responsive, certainly not without tweaking.
My only real concern at this stage is how fast I’ll fill up the half TB SSD. Out of the box it already used close to 50 GB once patched, so if you get one be sure to budget for external storage or use of a NAS/SAN.
Graphics performance thus far has been great (at 1080p), but I’m not running at 4k (I don’t have 4k monitors) so I can’t speak to graphics performance at scale.
I think it was around AUD $900 (shipped), and I think that’s a pretty decent price, I’d be hard pressed to build a NUC at that price point.
Stay tuned for more on this topic.




2 thoughts on “Windows Dev Kit 2023 is here!”
Hey Rob,
thx for the article, it helped me to understand the problem with the cables. I also have the problem and I tried different cables and adapters. Can you please point to a correct cable/adapter, that you use? I couldn’t find one, also I tried one with the word “active”.
Cheers and thx
Chris
Hi Chris, sorry for the long delay in replying. I’ll double check what I ended up using and reply back.