Today we’re taking a look at the very recently released – and some would say highly anticipated – preview of the upcoming upgrade for Windows 8, creatively known as Windows 8.1 (Preview). This will be a two (or possibly three) part entry, starting naturally with the installation experience.
From MSDN, I’m using the full preview iso (disc image) rather than the web downloader, as I’ll probably install it on a few more machines if I happen to like Windows 8.1.
I’ll be upgrading from Windows 8 to Windows 8.1, although it is supported to upgrade from as far back as Windows XP, but the experience varies. See the end for more details, or view the Preview FAQ.
From the Microsoft site:
Important
If you decide that you want to install Windows 8.1 Preview using the ISO, you won’t be able to uninstall it. If you decide to go back to your previous operating system, you’ll need to reinstall it using the recovery or installation media that came with your PC, which is typically DVD media. If you’re running Windows 8 and you don’t have recovery media, you might be able to create a USB recovery drive. If you’re running Windows 7, Windows Vista, or Windows XP and you don’t have recovery media, you might be able to create it from a recovery partition on your PC using software provided by your PC manufacturer. Check the support section of your PC manufacturer’s website for more information. After you install Windows 8.1 Preview, you won’t be able to use the recovery partition on your PC to go back to your previous version of Windows.
Notes before you download
Windows 8.1 Preview is pre-release software that may be substantially modified before it’s commercially released. Microsoft makes no warranties, express or implied, with respect to the information provided here. Some product features and functionality may require additional hardware or software.
From the Windows 8.1 Preview FAQ, some extra important information:
Can I uninstall Windows 8.1 Preview?
Uninstalling the preview isn’t supported.
If you’re currently using Windows RT, you won’t be able to uninstall Windows RT 8.1 Preview.
Without any further delay, on to the installation experience!
Installing Windows 8.1 Preview
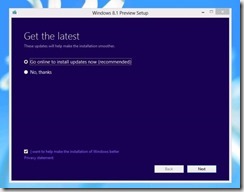
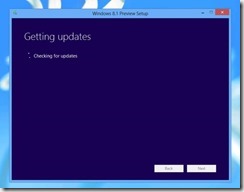
After mounting the iso image and launching the upgrade, the installer asks whether it should search online for any updates. Since it was only released yesterday, it naturally finds no new updates. The next screen, honestly, was a bit of a surprise:
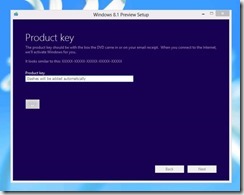
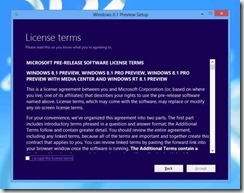
You’ll need a product key. That might not come as a shock it it were an RTM update, but a product key for a preview? That’s a bit of a surprise. So I lost a few minutes going and getting a key from MSDN, and then upon returning, it’s onto the gratuitous EULA screen, which I skimmed and accepted.
What I’ve since found out from reading information on the Windows 8.1 Preview FAQ page, there’s a Windows 8.1 Preview product key you can use: NTTX3-RV7VB-T7X7F-WQYYY-9Y92F.
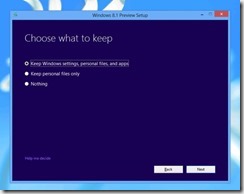
Now, some installation options. I elected to stay with the default (Keep Windows settings, personal files and apps) but since this is my test/preview Virtual Machine, I was a bit nonplussed. Once you’re done here, it’s straight into the installation.
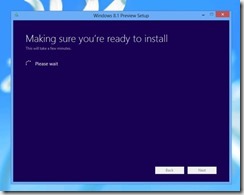
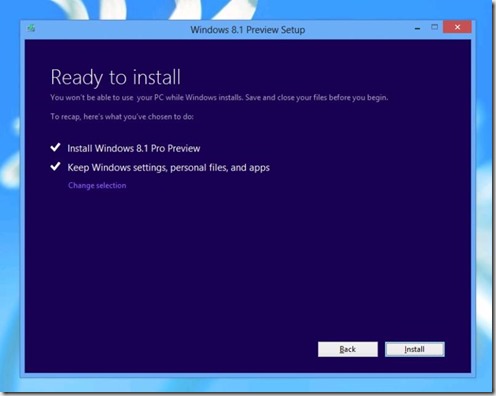
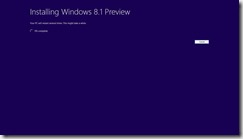
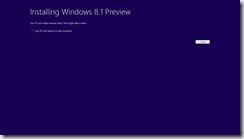
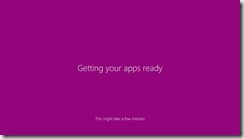
Once the prerequisite and final environmental checks are finalized, you are presented with a final “Go or No-Go” screen, after which the upgrade will commence. Without further adieu.. We go into full screen (indigo) mode for the configuration:
This takes a while – a few minutes in my experience – your experience will likely vary. Once you reach 100% the system will automatically reboot.
Upon loading (make sure you don’t boot from the ISO image) you’ll get this pre-load configuration, which takes a lot longer. In fact, I’ve written most of this article and the setup is only at 11%!
You’ll need to budget at least a good 15 minutes or more for this part of the installation as it is by far the longest part of the process. Once it has finished, there’s a final system reboot, and some more waiting.
..and more waiting. Finally, we arrive at a new settings screen.
Setting Up Windows 8.1 Preview
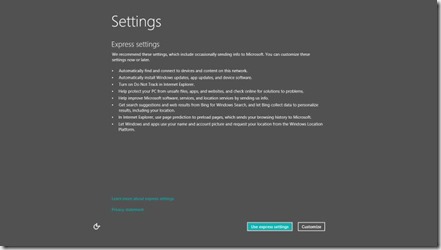
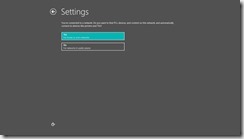
After the lengthy wait, the system reboots and I am greeted to a rather less blue-indigo experience with this sober dark grey coloured Settings screen:
Given the option between a customization and an express setup, I naturally choose to customize.
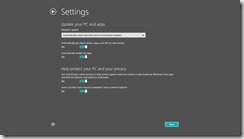
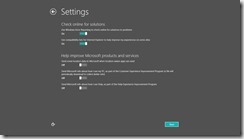
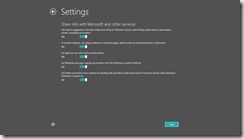
The first four windows in the setup are fairly vanilla, and doubtless you’ve seen them before if you’ve ever installed any version of Windows since Windows Vista. The Express settings skips all this and uses default settings, so you only journey down this path if you’re a curious cat like me.
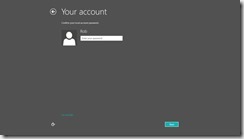
Next, you use credentials from your upgraded operating system to log on, which prompts the installation to ‘set up your account’. Curiously, I proceeded.
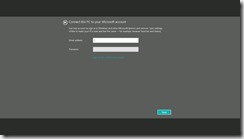
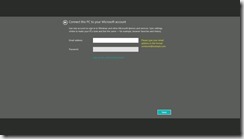
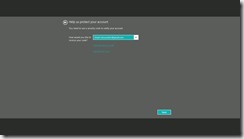
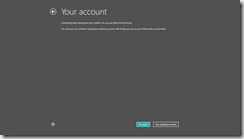
“Connect this PC to your Microsoft account” proclaims the title of the next screen. Remember, a Microsoft account is what used to be called a Live Account or Live ID, or before that a Microsoft Passport. Chances are that you have one, especially if you have ever used Hotmail, or practically any other Microsoft Live product or service.
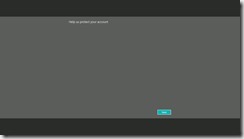
If you’ve never had one, presumably you’d be forced to create one now, as you can not skip this step (see the second image below).
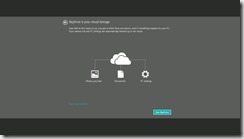
Continuing on, I had to use the 2-factor authentication to link the PC to my chosen Microsoft account – this experience may vary for you, depending on what sort of settings your Microsoft account has in place. Once verified (only took a few seconds), I was asked if I’d like to use SkyDrive (which I recommend):
Everything seemed to be going swimmingly until the next screen:
Luckily, it allowed me to continue, and I was then treated to a kaleidoscope of colours as Windows 8.1 began installing and configuring apps:
Finished!
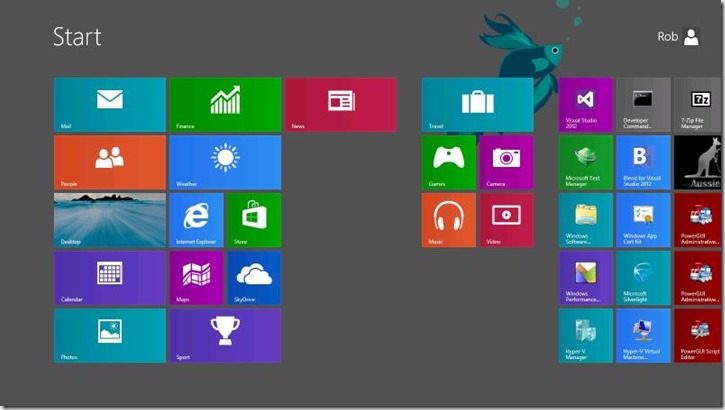
The formerly-known-as-Metro user interface greets us.. let’s head directly to the Desktop!
Well, that took a while, and the express settings are probably fine for most users. The most interesting part of the setup, was that you have to create a “Microsoft Account’” whereas with Windows 8 installation, you could skip that step by using a local account.
By the way, the Aussie Wine Guy app works just great on Windows 8.1 Preview.. hint, hint.
Check back for the next article soon, where we do a “hands-on” review of Windows 8.1 Preview.

A start button, but no start menu
Supported Upgrade Scenarios:
| If you’re upgrading from | You can keep | |
|---|---|---|
|
Windows 8 |
Windows settings, personal files, and most apps |
|
|
Windows RT |
Windows settings, personal files, and most apps |
|
|
Windows 7 |
Personal files |
|
|
Windows Vista |
Nothing. You must boot from media and perform a clean install |
|
|
Windows XP |
Nothing. You must boot from media and perform a clean install |
Need Help?
From the FAQ page:
Where do I go for Windows 8.1 Preview support?
We’ve created some online forums where you can ask questions and get answers from other preview testers and Microsoft support professionals. (We don’t offer technical support for pre-release software, including Windows 8.1 Preview.)
Visit the Windows 8.1 Preview forum
Visit the Internet Explorer 11 Preview forum
Visit the developer forums for building apps
Visit the IT pro forums for Windows 8.1 business features


