Introduction
Earlier this year I wrote about a little unit which packs a surprising punch. Well, since that time my needs have changed, and I ended up with this unit as surplus to requirements.
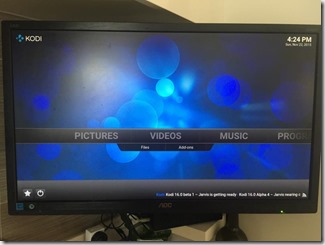
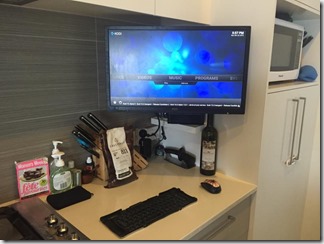
Never one to let decent hardware sit idle, I moved it into the kitchen this weekend, to replace an underperforming WDTV unit. What an improvement! To remove the WD TV, I needed a decent replacement, and found it with Kodi – a free home theatre software package.
The Installation
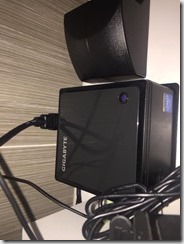
The unit comes with a standard VESA backing plate, which also means that it’s a bit useless when the monitor is on a monitor arm. Not to worry, it mounts just fine onto a wall, or in my case some kitchen cabinetry.
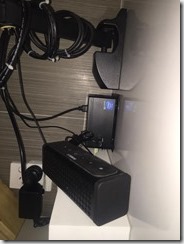
I needed to fit the Brix as close to the wall as I could to give the monitor space, this caused some issues for the inflexible HDMI cable which needs to go inconveniently into the rear of the unit. Thankfully I happened to have a HDMI angle bracket which solved the problem.
The Yamaha portable soundbar which you can see pictured above is used in deference to the built in speakers in the AOC 24” LED monitor. The soundbar is charged via USB, which is conveniently connected to the Brix (and the WDTV before it), which means conservation of power sockets – only two are required (monitor and Brix).
Since it is a kitchen, interference from the microwave would play havoc with WiFi, so the unit is Ethernet connected to the home network via a wall plate socket.
The Finale
Well, surgery was a success. On top of replacing the WDTV, we now have a fully functional Windows 10 installation which means we have a complete PC in a tiny footprint. I modified the OS to automatically boot a user account on start up, and then configured Kodi to load on sign in.
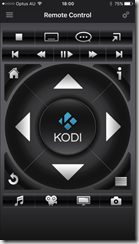
I’ll go into the software configuration in a separate piece, but suffice to say Kodi is brilliant. I love the fact that you can control it with an iOS app (see above) when running on the same network.
Now there was one final puzzle to solve – how to make this installation a fully fledged computing environment, but with an incredibly minimalist approach?
Enter a fully collapsible BlueTooth mobile keyboard and a run of the mill wireless mouse. The keyboard wouldn’t hack it as a full time solution, but for ad hoc use it is perfect, and the mouse is – well, functional.


Summary
That’s it for now. I’ll return to this subject to write at length about how to get Windows 10 optimally configured for use as a media operating system at a later time.

